
Confession… manual espresso brewing isn’t something we’ve ever really gotten into. The level of effort and room for error aren’t things we handle well before we’ve had our coffee. But we do love an affordable and portable espresso maker, so we bought the HUGH Leverpresso V4 to see if it could change our minds. As we travel a lot, we wanted to test whether it’s truly travel-friendly and easy enough to make top-quality espresso without the crutches provided by electric pumps.

Overall, I really enjoy using the Leverpresso Lite. It’s easy to get good shots with the unpressurized basket almost from the get-go, and you can tinker with all the variables to pull truly exceptional espresso shots. There are a couple of annoyances, though: I burned my hand several times when taking it apart to clean, and the cup doesn’t stay on very well.
Burns aside, as long as you have a good espresso grinder, an accurate scale, and maybe also splurge for the shower screen and upgraded dosing funnel, then you’ll have no issues getting a decent shot from the Leverpresso Lite.
After several days of severe over-caffeination whilst trying to dial in and tweak the recipe to near perfection, we have thoughts. Mostly good, but some frustrations and caveats about what you need to get the most from this lever espresso machine. We hold nothing back in this HUGH Leverpresso V4 review:
This article may contain affiliate/ compensated links. As an Amazon Associate, we earn from qualifying purchases at no additional cost to you. For more information please see our disclaimer here.

At a Glance: Hugh Leverpresso V4 Review
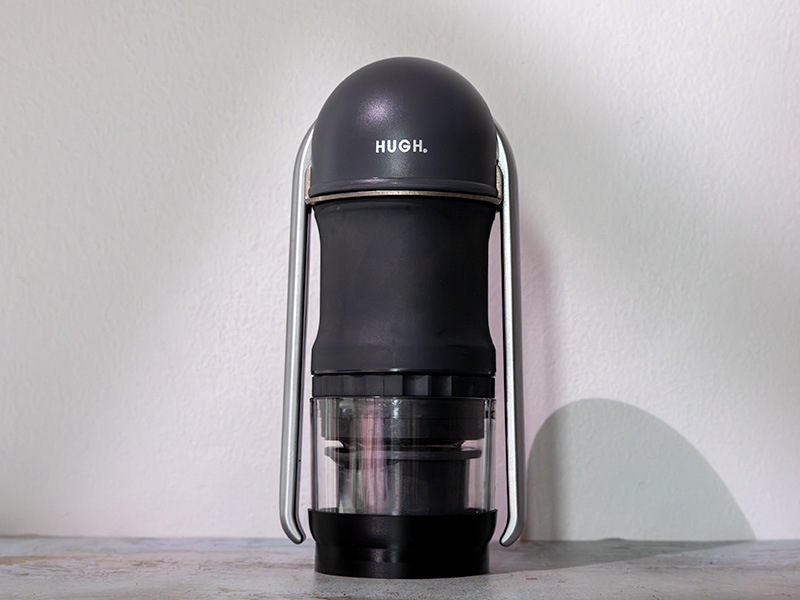
Verdict: This is a small, lightweight lever espresso maker. There isn’t much to it, and for just over $100, you can pull exceptional espresso shots… as long as you already have the right gear to pair with it.
With a good espresso grinder (we used the 1Zpresso J Ultra) and a coffee scale, great-quality espresso is possible almost from the jump. With more time and practice, our shots got better and more consistent – so patience is definitely required too. The downside is the extra setup means you’ll need to spend another $250 minimum (possibly a lot more) to truly make the most of the Leverpresso Lite.
There are two options: buy with a pressurized or unpressurized basket. But I don’t know why you’d go to the effort of manually pulling espresso only to lose of lot of potential flavor by using the pressurized basket.
Bottom line: A light, portable espresso maker that has high potential AND a high learning curve. Espresso nerds can easily chuck this in a bag alongside a portable grinder and scale to use whilst traveling, camping, or at the office. But it will only ever be as good as the gear you pair it with.

Pros
- Complete control of extraction
- Two handles make it easy to control and stabilize
- 51mm pressurized or unpressurized basket
- Weighs only 19.7oz (560g)
- Only 7.7″ tall (196mm)
- Can pull up to 60 ml shots

Cons
- Requires a good grinder
- Not the easiest to clean
- The included dosing funnel is messy to use

Our Ratings

Who It’s For (And Who It’s Not!)
✅ Buy the Hugh Leverpresso V4 if:
- You want to make excellent espresso anywhere and are happy to invest in extra gear. If your goal is to produce pro-level shots on the move, then the Leverpresso is a great device, provided you’re also willing to buy a travel grinder and scale to complete the setup.
- You want pro-level shots at home but are short on money and space. Small apartment and a total budget under $400? No problem: you can pull top-level shots with the Leverpresso without taking up space or taking out a loan.
- You love the process. You’ve got to want to spend time refining your settings, your workflow, and the exact process of manually pulling a shot. And you’ve got to be strong enough to pull the levers.
❌ Skip it if:
- You’re looking for a simple espresso machine for hiking. There are better portable options for espresso on the go if ease of use is your top priority, not the highest espresso quality.
- You won’t have access to hot water. It’s not a battery-powered machine that will heat water. If you won’t have a kettle or other hot water source, it’s not going to work for you.
- Light roasts are your go-to. The Leverpresso (like most manual espresso makers) struggles with light roasts – even medium roasts can be a stretch.
- You don’t want to spend money on a bunch of extra gear. At a minimum, you really need an espresso-specific grinder and a scale to get good results – the former being the most expensive part of the setup.

Key Features
1. 51mm Pressurized or Unpressurized Filter Basket
Before you add the Leverpresso V4 to your cart, check carefully whether you’re buying it with the pressurized or unpressurized filter basket – only 1 will arrive in the box.
Pressurized filters are built with beginners in mind, as they make it easier to build pressure and are more forgiving of any mistakes, though the flavor will never be as good. But I wouldn’t call the Leverpresso a beginner-friendly espresso maker. So, for me, the unpressurized filter is the only real option to get the most out of this device – you get more control and (the potential for) much tastier barista-style shots.
Either way, they take up to an 18g dose, and as a 51mm basket, you don’t just get what’s in the box. It also opens up the Leverpresso V4 to a whole raft of 51mm accessories – pro baskets, levellers, tampers, puck screens, and basically anything else you can think of.
2. Accessories Included
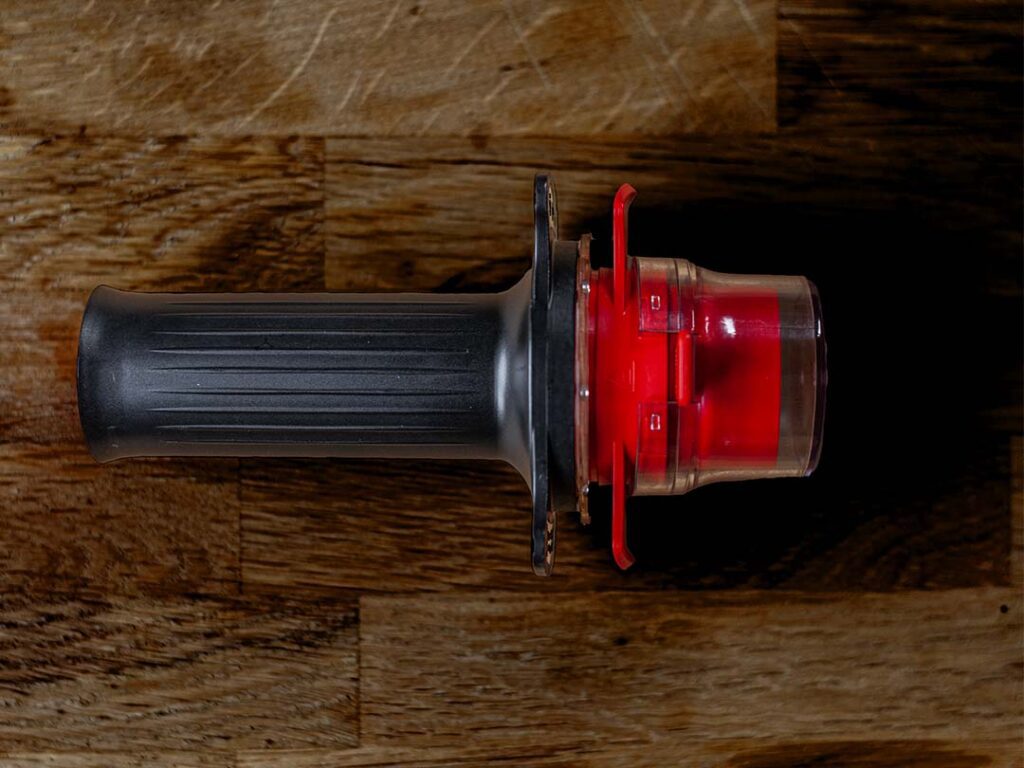
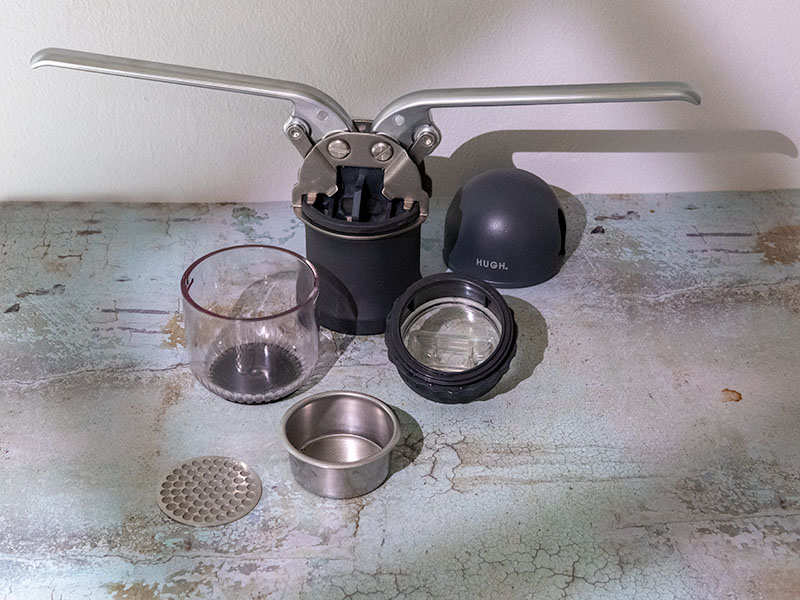
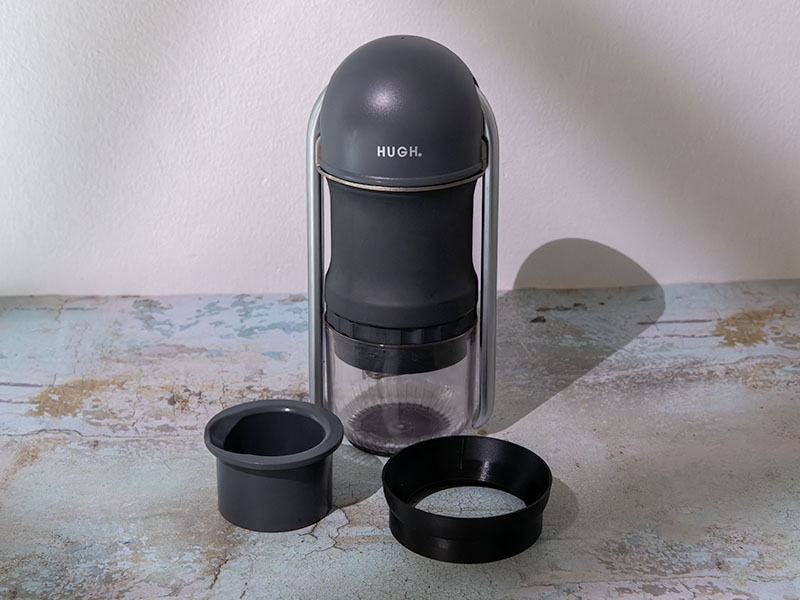
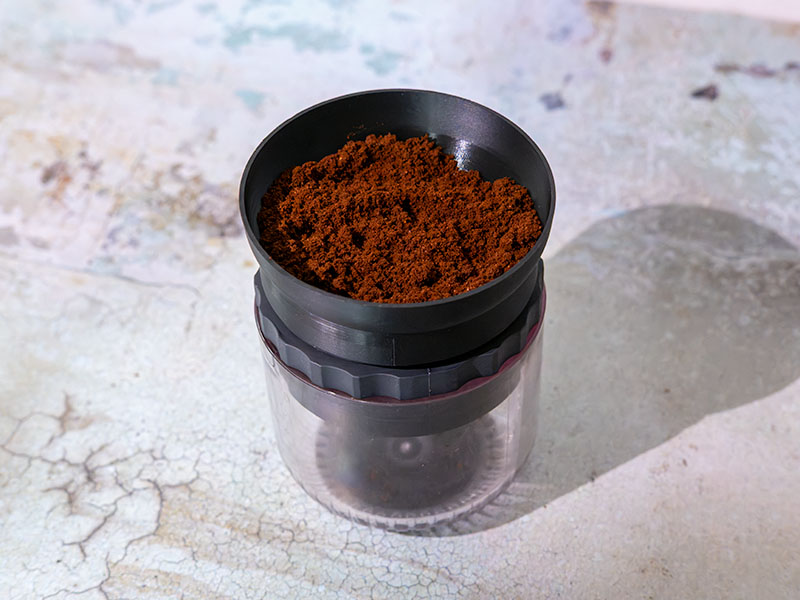
HUGH includes a plastic dosing funnel and tamper, so you have everything you need for puck preparation. Whilst they’re easy to transport, the dosing funnel isn’t great – it’s marginally too narrow and doesn’t sit nicely because it’s so lightweight, making it messy to use.
3. Light and Compact
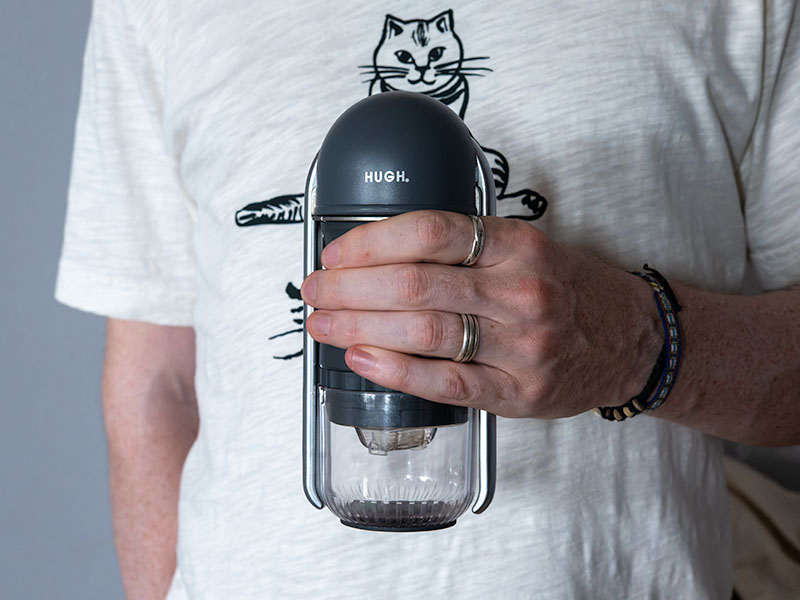
As the name suggests, the Levepresso Lite weighs only 19.7oz (560g), making it ideal for weight-conscious travellers, whether that’s hiking, camping, or carry-on baggage for a flight. It’s also only 7.7″ tall, so it won’t take up an enormous amount of room in your bag either. Truly travel-sized… if you ignore the need to pack a grinder too.

Is the Leverpresso easy to use?
As far as manual espresso machines go, it’s fairly easy to use. But the opportunity for user error is very high.
Manual espresso machines are, by nature, difficult to master because everything is in your hands. You have to nail your grind setting, dose, tamp, water temperature, and generate consistent pressure by pulling the levers down. As far as nailing all those steps goes, we found the Leverpresso V4 pretty easy to get right.
In theory, all you need to do is:
- Preheat the parts
- Grind your coffee, then prepare and tamp the grounds in the filter basket
- Throw out the preheat water, refill the water reservoir
- Lift the lever arms, allowing water to flow into the brew chamber
- Slowly press the levers back down to build pressure, and pull the shot into the attached cup
The difficult part is ensuring you do each of these steps well and do them consistently.
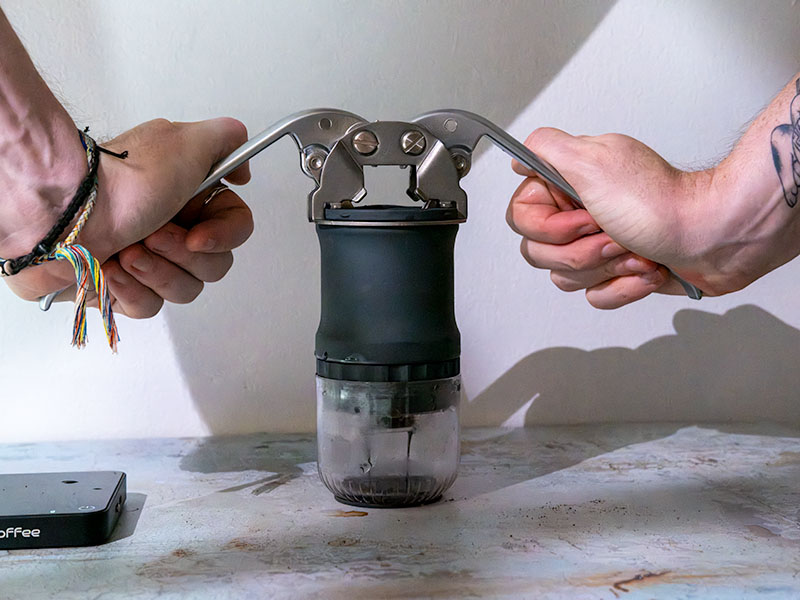
Puck prep: With the dosing funnel and tamper, preparing the puck is pretty straightforward. Though I will say the included dosing funnel is just OK, not great. We bought our machine in person at HUGH’s Seoul office, and they threw in an upgraded metal dosing funnel that is significantly better.
Setup: The parts screw together very easily, and there are helpful instructions if you need them. However, the water fill line isn’t obvious – not a huge issue, but it has led to some spilled water and a few choice words. It takes 120ml of water, so if you’re at home in a controlled environment, you could measure this out. Not so easy when traveling.
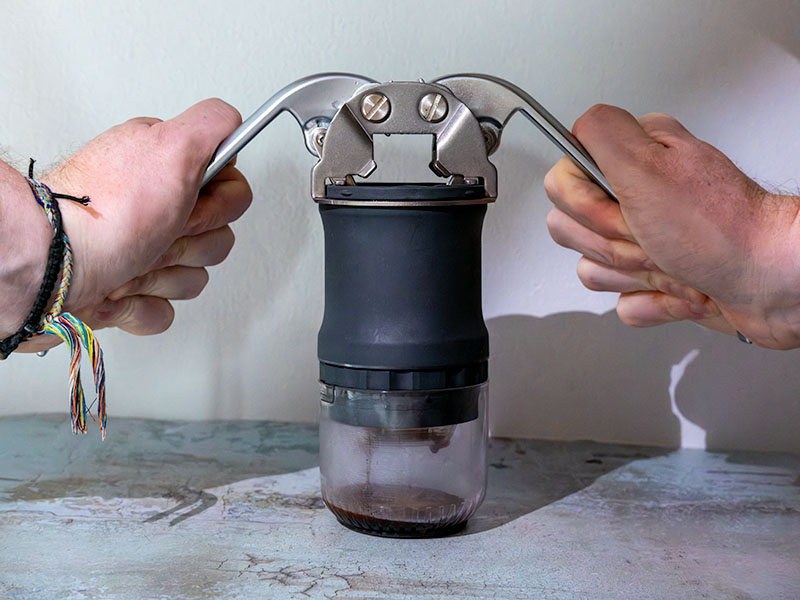
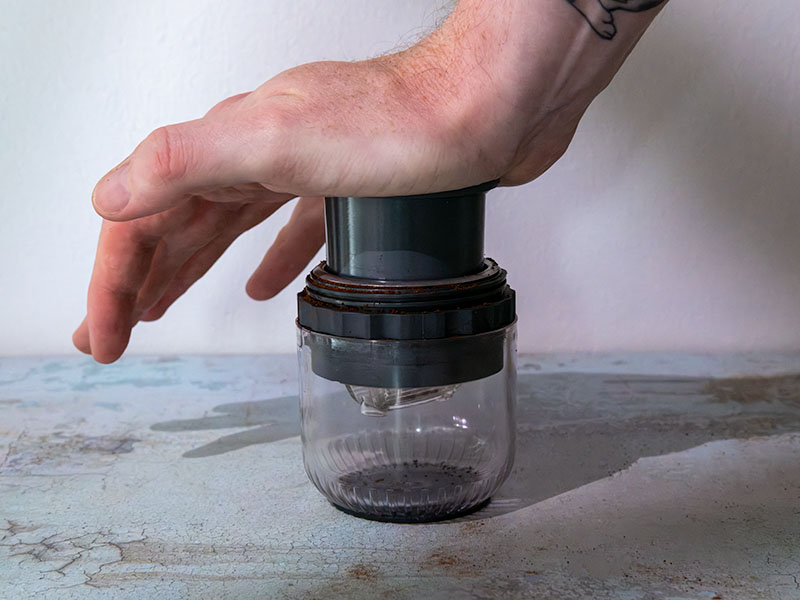
Extraction: Pushing down on the levers takes force. You need to have decent strength or put your body weight into it, but even my short wife, Katie, managed it. You need to make sure the surface is completely flat and dry – even the smallest amount of water can turn the “slip-proof” base into a slippery, dangerous mess.
Note: As you have to use the cup as a base to push down on, you can’t place the HUGH Leverpresso on top of your coffee scale to measure output by weight. We used a timer for 30-second shots, then weighed how much espresso we got out and adjusted our grind settings from there until we got the 1:2 ratio we were after.

How good is the Espresso?
The espresso will only ever be as good as you and your grinder are… which might be a terrifying answer.
We wanted to test the setup we’d take traveling, so we used our manual 1Zpresso J Ultra grinder, a regular (non-temperature-controlled) kettle, and MiiCoffee scale. And the result, after about 12 tries, was delicious espresso. Rich, full-bodied, with complex flavors and a beautiful acidity. This was using the Leverpresso Lite’s unpressurized basket and a puck screen that you have to buy separately.
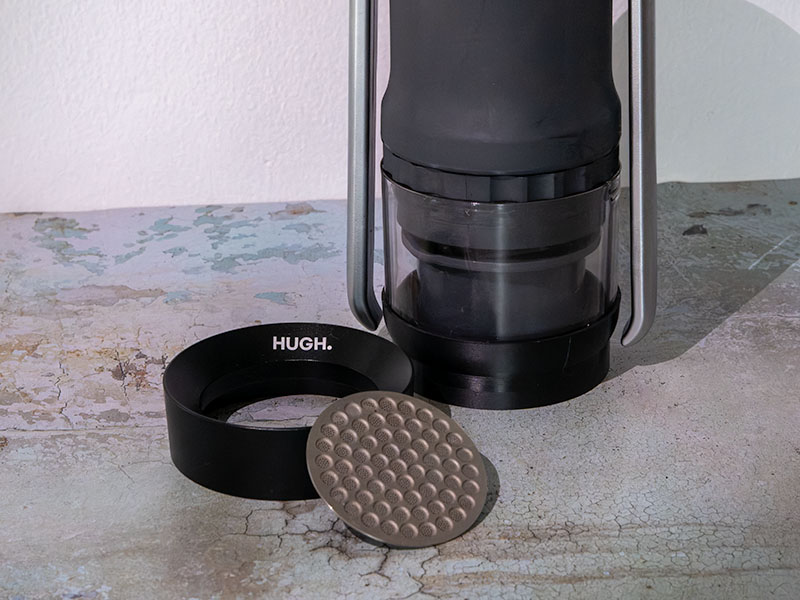
Getting the grind, tamp, and water temperature right can take some time. We’ve done this a lot, so we were starting from a decent place, but we still had to go through the process of dialing in. Just make sure you only change 1 thing at a time so you know what actually moved the needle.
Even with that knowledge, our first attempt (where we also didn’t preheat the machine – rookie error) resulted in a very long, very bitter shot. It had good crema, but it was good in looks alone.
Without a temperature-controlled kettle, there’s a big variable you have to account for. But we stayed stubborn and avoided using one, as it’s incredibly unlikely we’d ever have access to one whilst traveling. After boiling, we let the water sit and cool for 90seconds before using it. Any quicker, and the shots were still too bitter.
The great thing about manual/lever espresso makers is that you can endlessly change every variable to get the very best shot. How long do you want low-pressure pre-infusion? How long/short do you want your shots to be? Do you want to adjust grind, dose, ratio, temperature, or time to get the shot you’re after?
This is the kind of freedom that espresso nerds live for. But you also don’t have to think that hard about it to get a nice espresso – your goal can simply be to consistently make something that tastes good. That’s where we’ve settled for now.
Sure, we could use a temperature-controlled kettle, a pro basket, a better electric grinder, a spring-loaded tamper, and a WDT tool. Then we could probably get something truly exceptional from the Leverpresso. And maybe, one day, we will do all that and report back on how much of a difference that made.
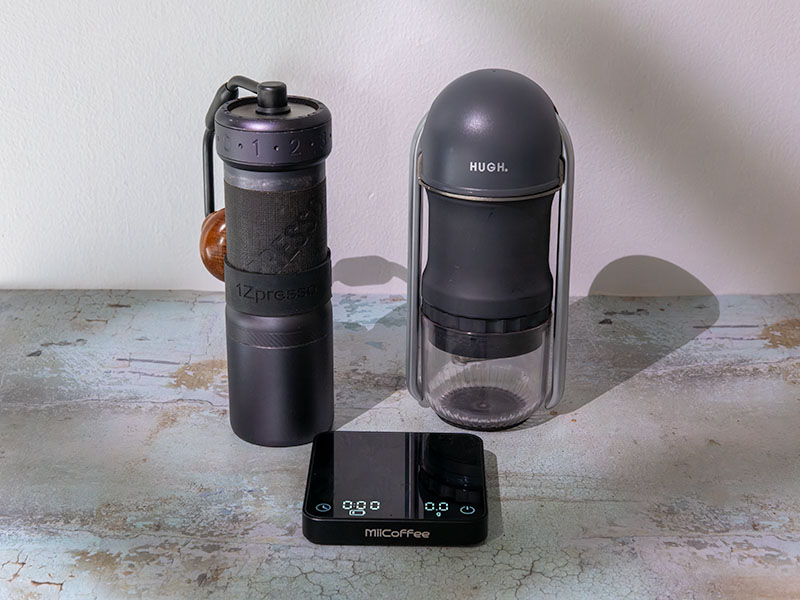
Our HUGH Leverpresso V4 Settings
These are our best settings with the unpressurized basket:

- Grind setting 1.3.8 on the 1Zpresso J Ultra grinder
- 18g dose
- Pre-heat the water chamber
- Fill the water tank with water 90 seconds after boiling
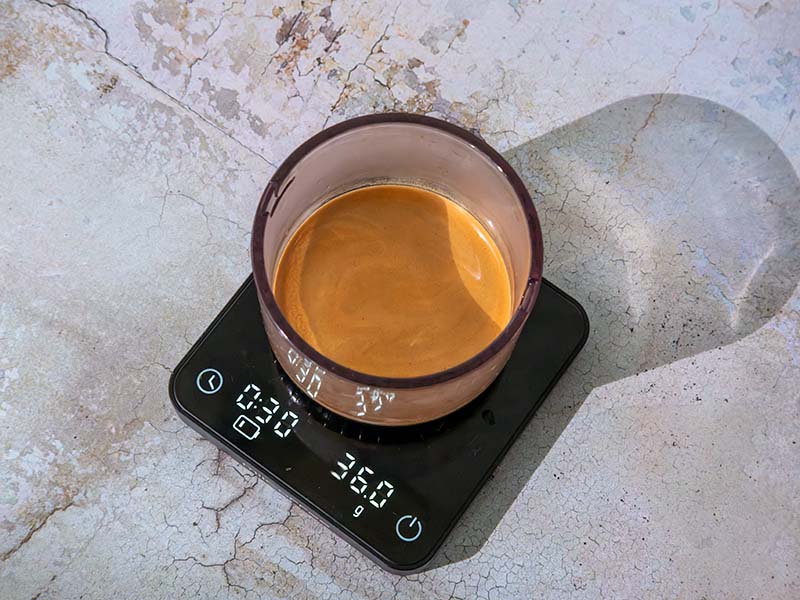
- 36g espresso out in 30 seconds
Pre-heating the Leverpresso makes a HUGE difference, allowing me to grind finer and get the result I want. The puck screen also really helped to get even extraction, and I would recommend spending the extra to get one (less than $15).

Can you use Pods or Pre-Ground coffee?
This is a ground coffee-only espresso maker, and ideally only freshly ground.
The option to buy the Leverpresso V4 with just a pressurized basket would allow you to make espresso with pre-ground coffee. But I honestly don’t know why you’d bother. It just feels like an awful lot of work for not a lot of gain. Instead, you could spend a little more to get a travel espresso maker like the OutIn Nano that’s easier to use, heats the water, and pumps an espresso from pre-ground at the push of a button.
To get the best from this device, you need to grind fresh (with a grinder that specializes in fine espresso grind) and ideally use medium-dark beans.
Like other manual espresso makers, it struggles with light roasts – they tend to taste sour and under-extracted. Medium roasts are okay, but you’ll still not get the full complexity of flavors.

Design and Build Quality Review
The Looks
It looks like a little spaceship that a child might draw. And I mean that in the nicest possible way. It’s practical, with its aluminium arms, stainless steel basket, and plastic for basically everything else. Okay, it won’t win any prizes for being a particularly striking piece of espresso machine design, but it looks good enough.
Maybe it’d be nice if it came in some fun colors, but we’re boring and honestly don’t really care about that. Unless the only color it comes in is horrible.
The Build
The important bit is how sturdy this thing is. It’s mostly made from “aerospace-grade superplastics”, whatever those are.
It’s light, but it’s supposed to be. The main thing is that when you’re pushing the levers down to make your espresso, the bit where the machine is under the most strain, it doesn’t feel like it’s fragile or going to break.
I do have a couple of quibbles, though:
The silicone base that is supposed to stabilize the Leverpresso while brewing slips around as soon as there is any water underneath it. Sure, just don’t get your counter wet. But there have been a few times I’ve not noticed a little water spilled (especially as it’s easy to overfill the water chamber), and then I can’t press hard enough to get my espresso, and that’s a shot ruined.
This is made worse by the Leverpresso being quite tall and narrow. I pulled maybe 10 shots before I realised this could be a problem, so it’s not a huge issue, but it helps to be aware of it.
The little plastic tabs on the portafilter that hold the cup in place are too small. Even the tiniest amount of force will unhook them from their little grooves and allow the cup to spin. Is this a big deal? Of course not, but it has annoyed me on more than one occasion, so I’m mentioning it.

Cleaning and Maintenance Review
You’ve got to be incredibly careful taking your Leverpresso apart, or you’ll end up with hot water all over your hands. I’m pretty sure my neighbors have heard more than enough colorful Scottish language through the walls when I’ve made this mistake.
In order to generate enough pressure for extraction, you have to fill the Leverpresso’s water chamber to the top. But, unless you’re making a lungo, this means there will be residual hot water left when you come to clean it. Even after trying to make sure it was all emptied out, I still ended up pouring hot water all over my hand while unscrewing it.
Maybe I’m just too quick to clean up, but I’m usually making coffee for 2. If you’re not making multiple shots in a row, then just leave it to cool while you enjoy your coffee. Otherwise, it’s very hard to ensure you don’t get hot water everywhere – I’ve pulled hundreds of shots with this thing now, and I’m still not sure there’s a way.
My complaints aside, the simplicity of the machine leads to simplicity in cleaning.
Your cleaning routine is going to look something like this:
Daily: Dump spent puck and rinse basket and portafilter.
Weekly: Ensure the shower screen is thoroughly cleaned.
Really, that’s all there is. As long as you can afford pouring boiling hot water on yourself, you’ll find cleaning an absolute breeze. Or leave to cool after each shot.

The Competition
Manual espresso on the move isn’t a crowded field. But HUGH has a couple of very tough competitors:
Wacaco Picopresso

- ☕️ Espresso Quality: 9.5/10
- 👍🏼 Ease of Use: 5/10
- ✈️ Portability: 10/10
- 💸 Value for Money: 9/10
- 🏆 Overall Rating: 9/10
The Wacaco Picopresso aims to give you professional-level espresso with a naked portafilter in the tiniest possible package. The potential espresso quality is significantly higher than their other machines, like the Pixapresso or Nanopresso.
It has a different mechanism for generating pressure compared to the Leverpresso V4. It uses pump-action pressure generation (like a bicycle pump), which is a little more difficult to get consistent pressure than the two-lever system. It’s also more tiring and requires decent hand size and grip strength, though not at an Olympic level.
But it’s almost half the size, just under 4″ tall.
Like the Leverpresso, you really need a good grinder and a scale to get the most from it. It isn’t the easiest to use and is fairly unforgiving.
If you’re willing to sacrifice a little bit of ease of use for more portability, then the Picopresso is the better choice.
If you’re not super tight on space, then we’d choose the slightly easier-to-use Leverpresso.
Flair 2GO
- ☕️ Espresso Quality: 9.5/10
- 👍🏼 Ease of Use: 6/10
- ✈️ Portability: 8/10
- 💸 Value for Money: 8.5/10
- 🏆 Overall Rating: 9/10
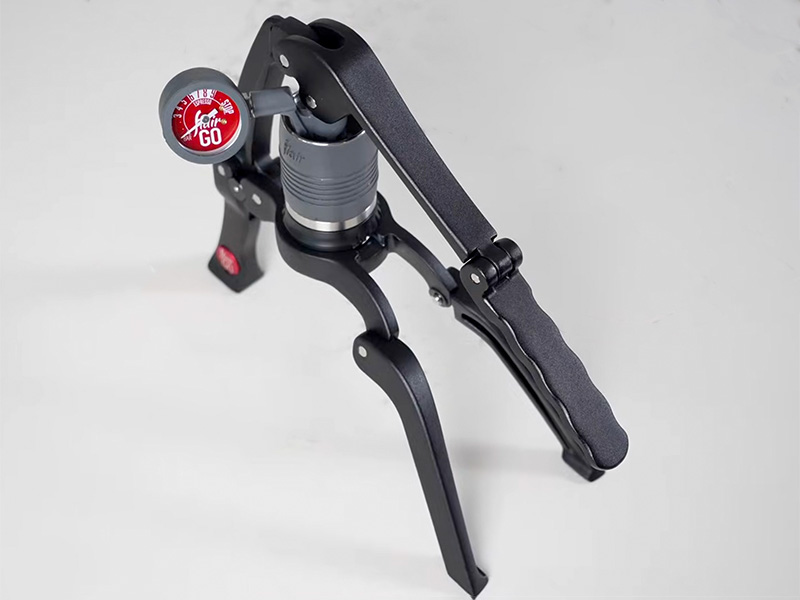
Flair manual espresso machines have been around for a while now, and they’ve finally accepted that none of their models are really portable and developed the 2GO, which folds up reasonably small.
Once set up, the Flair is much more stable than the Leverpresso due to its large footprint. This makes it a lot easier to get the amount of pressure you’re exerting right. The pressure gauge really helps with this too.
Even folded up in its carry case, it’s quite a bit bigger than the Leverpresso. And, like the other manual machines, it requires all the same extra accessories.
It basically comes down to where you fall on the ease-of-use to portability continuum. Generally, when travelling, we don’t have the kind of spare space for the Flair by the time I’ve packed my 28-step skincare routine and 10 emotional support Pokémon plushies. For a small apartment or even a campervan, this would be a solid option.
It is also considerably more expensive, an extra $70 or so more. That’s money you could be investing in a really nice grinder to get better espresso shots.
The Verdict
The Hugh Leverpresso V4 is a really good manual espresso machine that is accessible enough to make the dialing in process fun.
I was really impressed with how quickly I got a good shot from the HUGH Leverpresso, but I also do this every day and have done for years.
As with all manual espresso machines, it will take you 10-20 shots to get something you’re truly happy with. If you’re really into this stuff, then you’ll probably still be tweaking after 50 or more.
With a quality espresso grinder, it’s not overly hard to get decent espresso from the Leverpresso. And with some work, you can pull truly spectacular espresso shots. You can also explore pro baskets and other accessories to improve your espresso game further once you’re feeling up to it.
The one big thing that annoyed me was cleaning it. I constantly poured extremely hot water on my hands while taking it apart. This is something to be very careful with, or leave it alone for a long time to cool after use (though this means you can’t make coffee for more than one person at a time).
For the manual espresso lover who is looking to take their tinkering camping, hiking, or on the road more generally, it’s a really good option.
Has our no-holds-barred HUGH Leverpresso V4 review convinced you that this is the one for you?