The first time we used the Wacaco Minipresso, we were at a campsite in the middle of nowhere with no other coffee options. It was a gamble (that paid off) since we’d meant to try it out at home before packing up, but time ran away from us. A few days later, we were pumping out espresso with the same little device in a small hotel room.
After a week of travel with the Minipresso GR (the ground coffee version), plus plenty of testing at home, we also borrowed a friend’s Minipresso NS to see how the Nespresso pod version compared.
Overall, we were pretty impressed with both. The Minipresso is a clever, compact espresso maker that can produce a surprisingly good shot. As long as you have hot water. It’s simple, portable, and affordable… though it does have a few limitations, including lower pressure and the need to choose between the ground coffee or pod versions.
Below, we’ll break down our full Wacaco Minipresso review, including how both the GR and NS models perform in the real-world, what the coffee actually tastes like, and whether it’s still worth buying today.
This article may contain affiliate/ compensated links. As an Amazon Associate, we earn from qualifying purchases at no additional cost to you. For more information please see our disclaimer here.
At a Glance: Wacaco Minipresso Review
Verdict: The Wacaco Minipresso makes surprisingly good coffee for something you can throw in a backpack and costs around $55 (RRP). In our testing (camping, in hotels, and at home), it proved incredibly easy to use, compact, and capable of producing a decent espresso almost anywhere you can get hot water.
That said, it’s not perfect. The 8-bar pressure means it can’t quite match the quality of a traditional espresso machine, and you have to commit to either the ground coffee (GR) or Nespresso pod (NS) model from the start.
Bottom line:
- Buy it if you want a simple, lightweight way to make espresso while traveling, camping, or at work
- Skip it if you want true café-quality espresso or more flexibility (in which case, we’d recommend spending a little more to get the Wacaco Nanopresso)
If the Minipresso sounds like what you’re looking for, check the latest price below:
Pros
- Small & lightweight – easy to pack
- Solid, durable design
- Simple manual pump = no electricity
- Produces surprisingly good espresso
- Fast brewing (once water is heated)
- Affordable
Cons
- 8 bar pressure is below normal espresso standards
- Small water tank and cup
- Cup isn’t insulated
- Cap doesn’t stay on & can leak
- You must choose either pods or ground coffee version (no flexibility)
Who It’s For (And Who It’s Not!)
✅ The Wacaco Minipresso is for you if:
- You travel or camp frequently and know you’ll have access to hot water
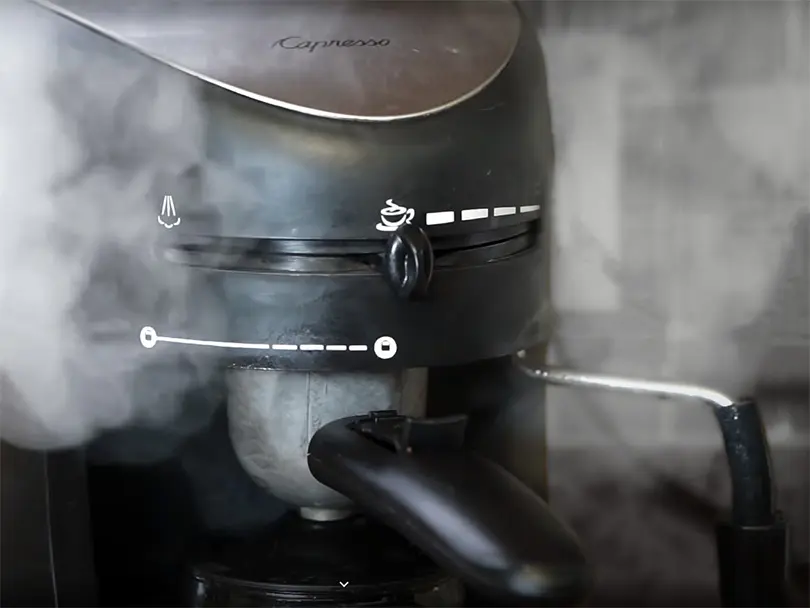
- Your office has a mediocre espresso machine or uses dreaded instant coffee, so you want a simple way to make espresso
- You’re short on space at home and need a compact, lightweight espresso solution
- You’re the type of coffee drinker who prioritizes convenience and portability over perfect espresso quality
- You want a beginner-friendly espresso maker that’s forgiving of any mistakes
❌ Skip it if:
- You’re an espresso purist who wants café-level shots and minimum 9-bar pressure
- You want the flexibility to use both pods and ground coffee in one machine
- You have limited grip strength or hand mobility, making the manual pump too difficult to use
- It’s not likely you’ll have access to hot water when you travel
- You want the total ease of a fully automatic or push-button espresso maker
Key Features That Matter
1. 2.35oz Water Tank (Single Shot Focus)
The Minipresso’s small 2.35oz (70ml) water tank is designed to pull a single espresso shot of up to 1.7oz (50ml). So it’s ideal for solo use.
However, if you’re traveling as a couple (like we were) or want a double espresso, you’ll need to refill the tank and do everything again – which can get tedious fairly quickly.
We didn’t use it, but Wacaco does sell a larger Minipresso Tank+ accessory that increases the water capacity to just over 4oz (120ml). This is ideal if you prefer a longer coffee style (like a lungo). But it’s not designed for making coffee for two people at once, as the coffee chamber stays the same size, meaning you’d end up with a really weak, watery shot.
2. 8-Bar Manual Pressure
Modern espresso machines typically use around 9 bars of pressure to extract “true” espresso. So the Minipresso’s 8-bar manual pump sits below that threshold.
In reality, being able to achieve and then maintain that pressure depends on your technique and grip strength. Without a pressure gauge, there’s no way to know what you’re generating. During testing, we noticed a difference in quality between the shots pulled by my wife and me when all other variables were the same – the only difference was her smaller (and, in her words, weaker!) hands.
That said, we were still able to get decent espresso shots with some crema. Especially when we preheated the device and used freshly ground coffee.
It won’t reach the richness or consistency of a full espresso machine, so it’s unlikely to replace your home setup. But the results are surprisingly good for a portable device.
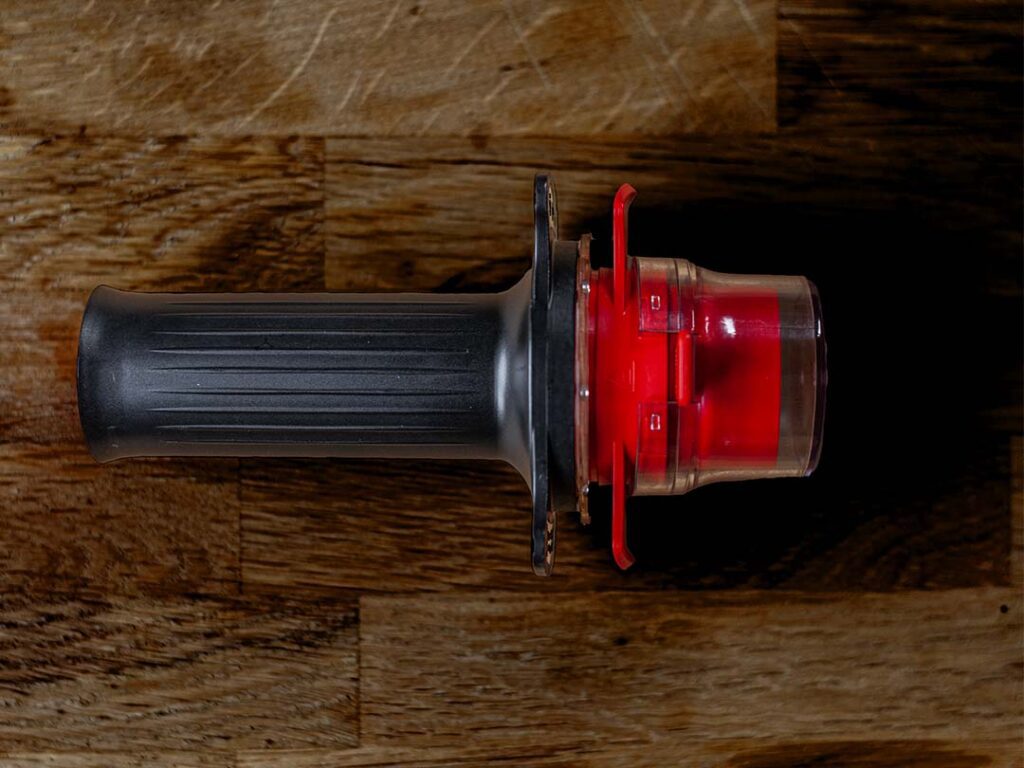
3. Two Versions: Ground Coffee or Nespresso Pods
The Minipresso comes in two versions, depending on what best suits your needs:
- GR – designed for ground coffee
- NS – designed for Nespresso pods
Both versions work well. We used the GR version more extensively as we’re coffee nerds who prefer the flavor from using freshly ground coffee over pods. But we also took a friend’s NS model out for a spin to see how the pod system performed.
If convenience is your priority, the NS model is extremely simple to use. If you enjoy experimenting with different beans and grind sizes, the GR version gives you much more control over the final cup.
The only downside is that you have to choose one or the other. Unlike the Wacaco Nanopresso, the Minipresso doesn’t support interchangeable adapters, which limits flexibility.
Is it Easy to Use the Wacaco Minipresso?
The Minipresso is quick to learn and very easy to operate, though the GR version requires a little more preparation than the pod model.
One of the biggest strengths of the Minipresso is how simple it is to operate once you’ve used it a couple of times. There’s a small learning curve the first time you assemble it (though this is true of most new coffee makers), but after that, the process quickly becomes second nature.
The difference between okay and great coffee all comes down to your technique though.
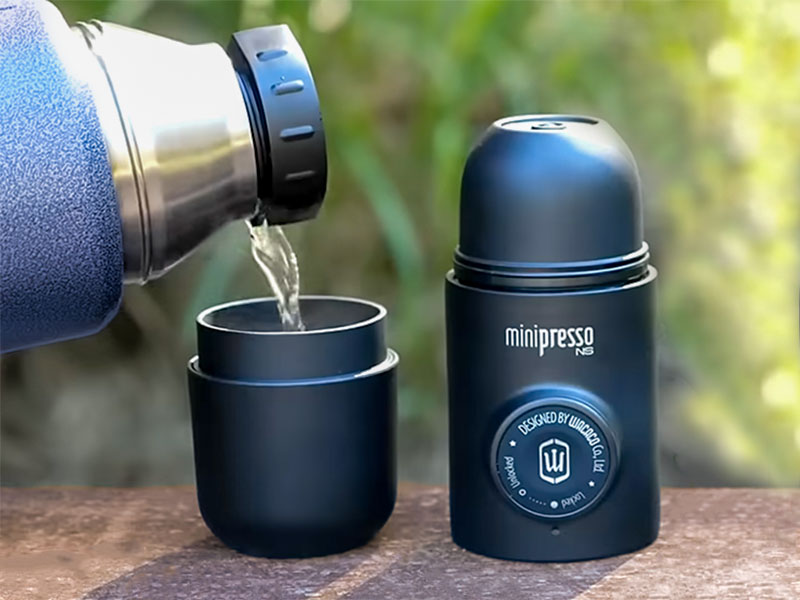
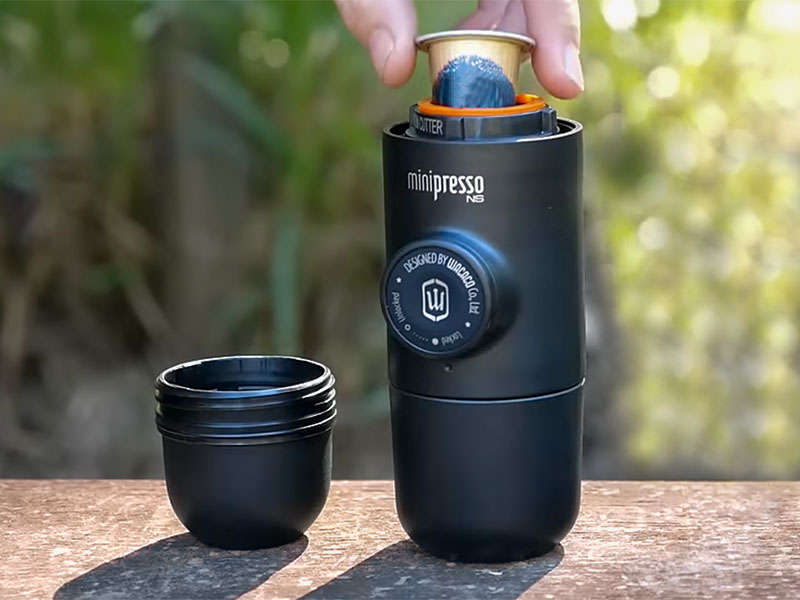
Using the NS model is about as straightforward as it gets. You insert a Nespresso pod, add hot water to the tank, unlock the pump, and start pressing until the espresso flows into the cup. It usually took about 18-22 pumps total for me to pull a full espresso shot, less with a ristretto pod.
The GR version takes a little more effort, but the payoff is greater. You need to fill the basket with ground coffee and tamp it down before assembling the machine. It’s still simple, but it does mean carrying ground coffee (and possibly a grinder) if you’re traveling.
With either model, we found the pumping mechanism smooth and surprisingly easy to operate. Making two shots back-to-back did leave my hand pretty achy, though.
My biggest annoyance/ confusion with the Minipresso is its capacity. The water tank holds 70ml and is designed to pull a maximum 50ml shot, which would be very weak. Especially when you consider that a regular Nespresso machine produces a 40ml shot from one espresso pod. On the GR model, the ground coffee basket is only 8g, so I’d be looking to make 20ml of espresso at the absolute most. If you’re not traveling with a scale, trying to eyeball it isn’t easy.
You also have to be careful with your aim so you don’t miss the espresso cup. When camping, I found it more difficult to find a flat enough surface.
Barista Tips
- Pre-heat the device and cup for the best results
- You need to fully fill the tank to generate enough pressure. But don’t pump all of the water, or you’ll get a thin, watery shot
- To truly get the best tasting coffee, you’ll need to use the GR model and travel with a grinder and coffee scale – which I realise isn’t practical for everyone (most people?)
Wacaco Minipress GR vs NS Comparison
The Wacaco Minipresso comes in two versions: the GR, which uses ground coffee, and the NS, which uses Nespresso pods. We mostly used the GR model because, as coffee snobs, we can’t be convinced that pods can produce better coffee than grounds. But we have tried out both versions.
Both machines work well, but they suit slightly different types of coffee drinker.
Quick Comparison
| Feature | Minipresso GR | Minipresso NS |
|---|---|---|
| Coffee type | Ground coffee | Nespresso pods |
| Convenience | Requires grinding/tamping | Extremely quick and simple |
| Coffee quality | Potentially better tasting coffee, with fresh beans and good technique | Consistent but limited by pods |
| Travel practicality | Need to carry coffee (and ideally a grinder) | Pods and compact and mess-free |
| Cleaning | Messy to dispose of puck and clean grounds when traveling | Simple to remove the empty pod |
Quick pick:
➡️ Choose the GR if you want the best flavor from fresh beans.
➡️ Choose the NS if convenience matters more than flexibility.

Convenience
If simplicity is your top priority, the NS version wins easily. Using pods removes most of the preparation – you simply insert the capsule, add hot water, and start pumping. The only ‘hardship’ is making sure you screw the cap on tightly enough to pierce the pod’s film.
With the GR version, you need to measure and tamp your coffee before brewing. It’s not difficult, but it does add a couple of extra steps and introduces more chance for things to go wrong.
Coffee Quality
For coffee enthusiasts, the GR version has the clear advantage. Using freshly ground beans gives you much more control over grind size, freshness, and flavor. If you’re serious about your coffee flavor, this is the way to go. But it does mean there’s more variability in quality and a steeper learning curve.
The NS version is consistent and convenient, but you’re limited to the flavor profiles and quality available from Nespresso-compatible capsules.
Practicality for Travel
Both versions travel well as they’re so compact you can throw it in your bag. But they require slightly different setups.
With the GR model, you’ll need to bring ground coffee with you in a sealed bag, or whole beans and a grinder if you want maximum freshness. That adds a little bulk to your travel kit and, if you’re short on space, might not be ideal. Though if you’re looking for a quality portable espresso maker, this will always be a limiting factor.
The NS model is simpler to pack. Capsules are compact, clean, and easy to portion, making them particularly convenient for short trips.
Our Recommendation
If, like us, you’re a coffee enthusiast who enjoys experimenting with beans and grind size, the Minipresso GR is the better choice. (Check the current price, here)
If you prefer maximum convenience and minimal fuss, the Minipresso NS is the easier travel companion. (Check the current price, here)
Either way, both versions deliver a surprisingly good espresso for such a compact portable machine. It’s just frustrating that you’re locked in. Wacaco has since released the Nanopresso, which is a modular machine. This means it takes ground coffee as standard but you can buy an attachment that allows you to use pods. So you get a lot more flexibility for a little extra money.
➡️ Read next: Our hands-on Wacaco Nanopresso review
Does the Wacaco Minipresso Make Good Coffee?
The short answer is: yes, the Wacaco Minipresso makes decent coffee… but with a few caveats.
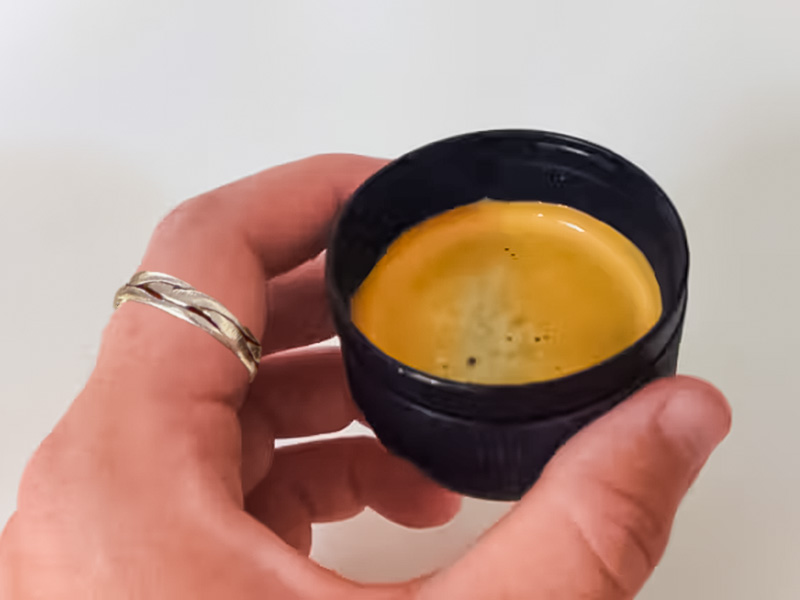
For a handheld espresso maker that easily fits in a backpack, the Minipresso produces a surprisingly good shot. It won’t compete with a good coffee shop (or the more quality-focused Wacaco Picopresso), but we have to set our expectations when using something that looks like a bicycle pump.
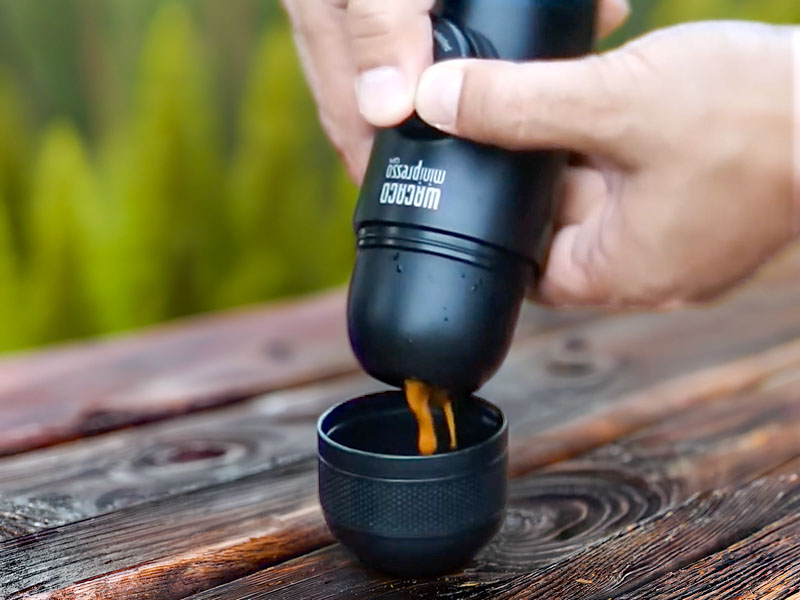
We tested it both at home and while traveling for this Wacaco Minipresso review and were able to pull espresso with a noticeable crema and decent body. Especially when we used freshly ground beans and preheated the device.
However, it’s important to keep expectations realistic:
The Minipresso’s 8-bar manual pressure sits below the traditional espresso benchmark of 9 bars. In practice, this means the shots tend to be a little lighter and less intense than what you’d get from a full espresso machine. And, ultimately, it’s not “true espresso”.
What the Espresso Actually Tastes Like
When everything is dialed in (hot water, proper grind size, firm pumping, and appropriate water volume), the Minipresso GR produces a pleasant, balanced espresso. We found the flavor to be smooth with moderate body and a thin but respectable crema.
Light roasts are all but useless as the lower 8-bar pressure simply can’t extract enough flavor, especially when manually pumping. Even medium roasts were pretty hit and miss for us. But with medium-dark and darker roasts, the results were particularly enjoyable.
Fresh Coffee vs Pods
As you might expect, we got the best flavor when using the GR version with freshly ground coffee beans. The ability to adjust grind size and coffee dose makes it easier to dial in a satisfying shot. Plus, you have more flexibility to choose a flavor profile you prefer in the first place.
This all hinges on the quality of your beans and the freshness of your grind. If you’re using old (and, therefore, stale) pre-ground coffee, you’ll likely get a better-tasting coffee from the NS model instead.
The NS version, using Nespresso pods, was extremely consistent and much quicker to use. If you already have a capsule that you enjoy, you’ll get a solid espresso out of the Minipresso. Especially in situations where convenience (and caffeine!) matters more than experimentation.
The Realistic Expectation
The Minipresso won’t replace a proper home espresso machine if you’re chasing café-quality shots. But that’s not really the point or who it’s aimed at.
What it does deliver is a very respectable espresso, almost anywhere you can get hot water. Whether that’s a hotel room, campsite, office desk, or small college dorm.
Our biggest recommendation would be to pre-heat the device as it makes a very noticeable improvement to the flavor – and enjoyment – of your coffee.
For a device this small and portable, we were genuinely impressed by the coffee quality. Though I should say that we went into this test with pretty low expectations.
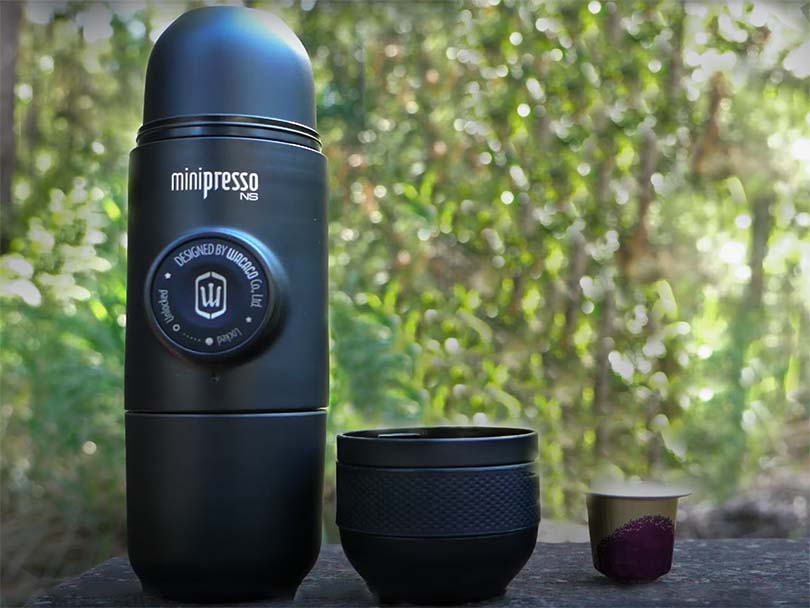
Design and Build Quality Review
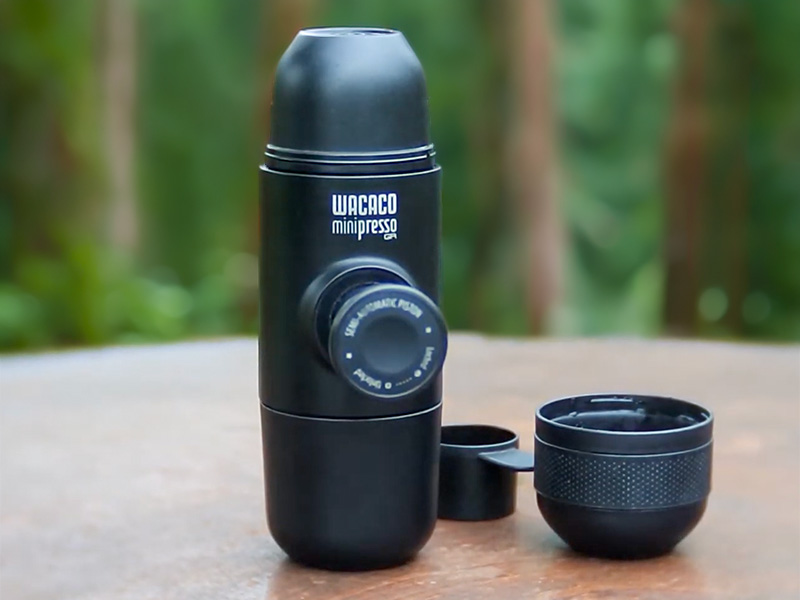
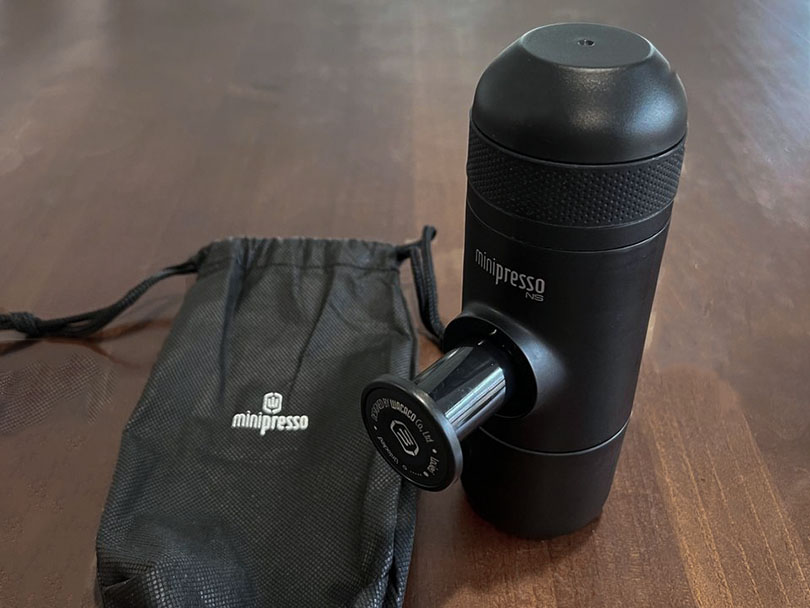
When I first took the Minipresso out of the box, I was impressed by how ‘heavy’ it felt. Not the physical weight (which is 12.7oz/360g) but the sturdy solidness of the device.
For such a compact device, the Wacaco Minipresso feels well designed and surprisingly robust. Which is just as well since it’s designed to be thrown into backpacks with the rest of your camping or travel gear.
It obviously doesn’t have the premium feel of some larger (and more expensive) coffee equipment, but the overall construction inspires confidence.
Given the name, it’s unsurprisingly mini. It measures 6.9 inches tall and 2.75 inches wide (17.5 by 7cm), making it easy to pack. It’s small enough to slip into the side pocket of a backpack or even a handbag.
The design itself is fairly simple and understated. I like that all of the parts easily screw back together, and you can store the GR’s coffee scoop and cleaning brush inside too, so you don’t lose any of the parts when you’re on the move.
Since the entire brewing process relies on manual pressure through the small pump, it’s the most important component. And this is one area where the Minipresso performs well:
The pump action feels smooth and controlled, and it’s quiet enough that using it in a hotel room or office doesn’t attract too much attention. You do need a good amount of grip strength, and I found it easier to maintain pressure using both hands on the pump.
There are a couple of small design quirks worth mentioning:
👎🏼 The device, including the cup, isn’t insulated, so your shot cools fairly quickly – something we especially noticed when brewing outdoors. Pouring hot water through the device before brewing makes a big difference, but it still won’t stay hot for long.
👎🏼 The cup also doesn’t screw on tightly enough to make it fully watertight. So any leftover liquid can leak slightly inside your bag.
None of these issues are deal-breakers but they’re worth keeping in mind if you plan to travel with the Minipresso regularly.
Cleaning and Maintenance
Cleaning the Wacaco Minipresso is refreshingly simple (especially the NS model), which is exactly what you want from a travel coffee maker.
If you’re using the GR (ground coffee) version, you just knock out the used grounds and give the filter basket a quick rinse. If you’re camping, you need to have somewhere you can put your spent grounds, and it does have the potential to get a little messy. And you’ll need to save some water for cleaning.
It’s worth keeping a soft toothbrush or toothpick handy for any stubborn coffee grounds that get stuck in the basket. But it should be fairly easy to rinse out after use.
If you’re using the NS (pod) version, cleaning is even easier – you simply remove and discard the used pod.
Every now and then, it’s worth running a full tank of hot water through the machine to rinse the internal components. In practice, this happens naturally when you preheat the device before brewing.
Because the Minipresso has very few parts, cleaning takes less than a minute. It also uses very little water, which is helpful if you’re camping or backpacking. With access to a sink, it’s an incredibly painless task.
One thing we noticed during testing is that the Minipresso occasionally leaks if there’s any water left inside. When traveling, it’s worth letting it dry for a minute or two before packing it away. Alternatively, storing it in a small ziplock bag avoids any unwanted coffee stains in your bag.
Overall, it’s one of the lowest-maintenance portable espresso makers we’ve used.

Optional Accessories
The Wacaco Minipresso is a deliberately simple device. It’s designed to do one thing – make a single espresso shot on the go – and do it well. So it doesn’t come with any extra features or built-in upgrades.
However, Wacaco does offer a few optional accessories that can make the Minipresso a little more convenient depending on how you plan to use it.
Protective Case
The most useful accessory for most people is the Minipresso Protective Case. It’s nothing fancy, just a hard-shell case designed specifically for the shape of the espresso maker.
If you plan to carry the Minipresso in a backpack while traveling, hiking, or commuting, the case adds some welcome protection and helps prevent the device from getting scratched or knocked around. Plus it keeps any leaks contained.
Minipresso Tank+
The Minipresso Tank+ increases the water capacity from 2.35oz (70ml) to just over 4oz (120ml).
This can be useful if you prefer a longer coffee style like a lungo. Just keep in mind that it doesn’t increase the size of the coffee basket, so it’s still designed for making one drink at a time.
Minipresso Kit
Wacaco also sells a Minipresso Kit, which bundles the larger 4oz water tank with 3 additional filter baskets with caps.
This is mainly helpful if you want to prepare multiple doses of coffee in advance, which can make brewing quicker when traveling, as you don’t have to grind or measure your coffee on-the-go.
For most users, these accessories aren’t essential – the Minipresso works perfectly well on its own. But if you plan to use it frequently while traveling, the protective case is well worth throwing in your basket.
What’s the Difference Between the Wacaco Nanopresso and Minipresso?
Wacaco has expanded its range of portable espresso makers, and we realize that it can get confusing. So, here’s a breakdown of the differences in the Wacaco Minipresso vs Nanopresso – the next model up:
Basically, the Minipresso 1 is the younger sibling to the Nanopresso. It was the first generation and, in our opinion, they ironed out any teething issues by the time the Nanopresso came around.
The first difference is the size:
| Nanopresso | Minipresso | |
|---|---|---|
| Height | 6 inches / 15.6cm | 6.9 inches / 17.5cm |
| Weight | 11.9oz / 336g | 12.7oz / 360g |
| Water Capacity | 80ml | 70ml |
| Coffee Capacity | 8g (16g with add-on) | 8g |
The Nanopresso is smaller, but the larger grounds basket size (with add-on) makes it easier to make a more robust, better-tasting espresso.
But the biggest difference is the pressure:
The Nanopresso can generate 18 bars of pressure, compared to just 8 bars on the Minipresso. This makes a drastic difference to the quality of your shots – better flavor, crema, and body.
You also don’t have to be limited by either the ground coffee or Nespresso pods version, as you do with the Minipresso. The Nanopresso is different as it’s a modular machine, meaning you can buy attachments that screw on. So, straight out of the box, it works with grounds only, but you can purchase the NS Adapter, allowing it to work with pods too.
Overall, the Wacaco Nanopresso is the better option. It is slightly less forgiving than the Minipresso, but the potential quality difference is huge – and for only a slightly higher cost.
➡️ Check the current price of the Nanopresso
For a full breakdown of the differences, watch Wacaco’s helpful video here:
Final Thoughts
So, what’s the verdict on our Wacaco Minipresso review?
Overall, it’s a clever little device that makes it possible to enjoy espresso almost anywhere – whether that’s in a hotel room, at the office, or halfway up a hiking trail.
During our testing, it proved compact, easy to use, and capable of producing a genuinely enjoyable shot of coffee, especially when preheated and paired with freshly ground beans. No, it’s not quite capable of matching the richness or consistency of a full espresso machine, but for a handheld device, the results are impressive.
The biggest limitation is simply that the newer Wacaco Nanopresso improves on the design in almost every way, including higher pressure and greater flexibility.
Still, the Minipresso remains a very affordable entry point into portable espresso. If you want a simple way to make decent coffee while traveling, camping, or commuting, it’s a solid choice.
If you’re deciding between the two, we’d generally recommend stretching your budget slightly for the Nanopresso (around $15 more). But if the Minipresso fits your budget and you’re happy making single shots on the go, it’s still a capable and reliable little machine.
If you want to check the latest price or read more customer reviews, you can see the Wacaco Minipresso here.